Mail: contact@nexopos.com
Phone: +1(940)623-9260
Start using NexoPOS for free on Windows Download NexoPOS
Download NexoPOS
If you already have purchased the product, you can download it from your account downloads.
This is a mobile application that adds a security layer to critical features on the point of sale screen. This will describe how to use it on NexoPOS (starting on version 6x).
It's advised to use this application as the administrator of the store. You must be granted all permissions to access the restricted feature on the POS (explained later). Assuming the app is installed on your device (Android for the first release), when you open it, you'll be welcomed with a login page that invites you to connect your store.
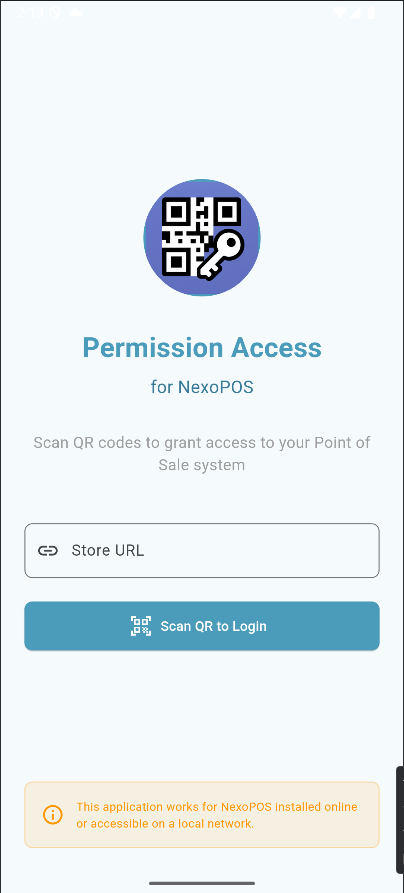
On the address Bar, you'll provide your store URL. Then head to your profile, then to the tab "API Token". From there, you'll create an API token that has the name you want.
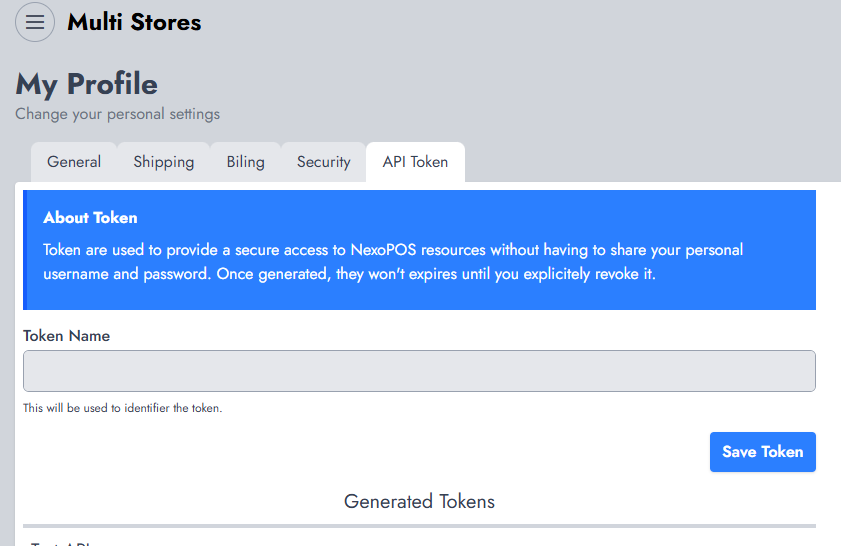
By clicking on "Save Token", that will create a pop-up with the QR code you have to scan with the application.

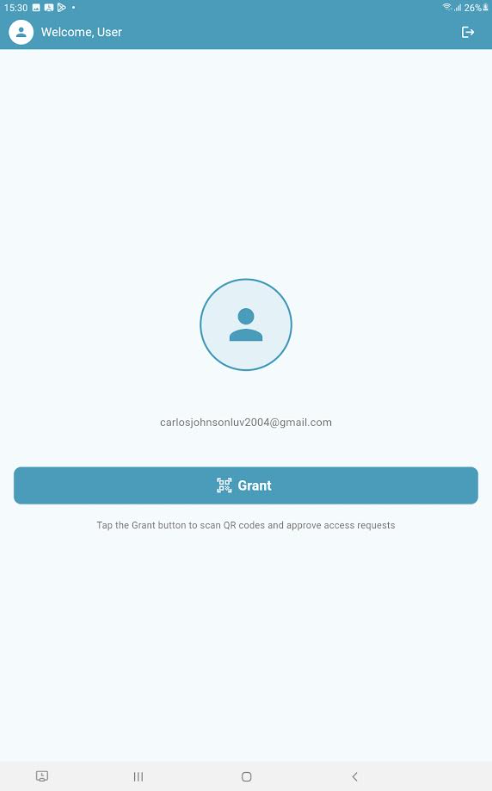
By scanning, you'll be authenticated on the mobile app, and it will act as you. You might then find it useful to protect your app (password, face scan, pattern, etc).
When the authentication is successful, you'll access the main page.
For this application to work, you need to clearly define which features are restricted and require approval from an administrator. Therefore, you need to head to "POS > Features" and enable "Action Permissions".
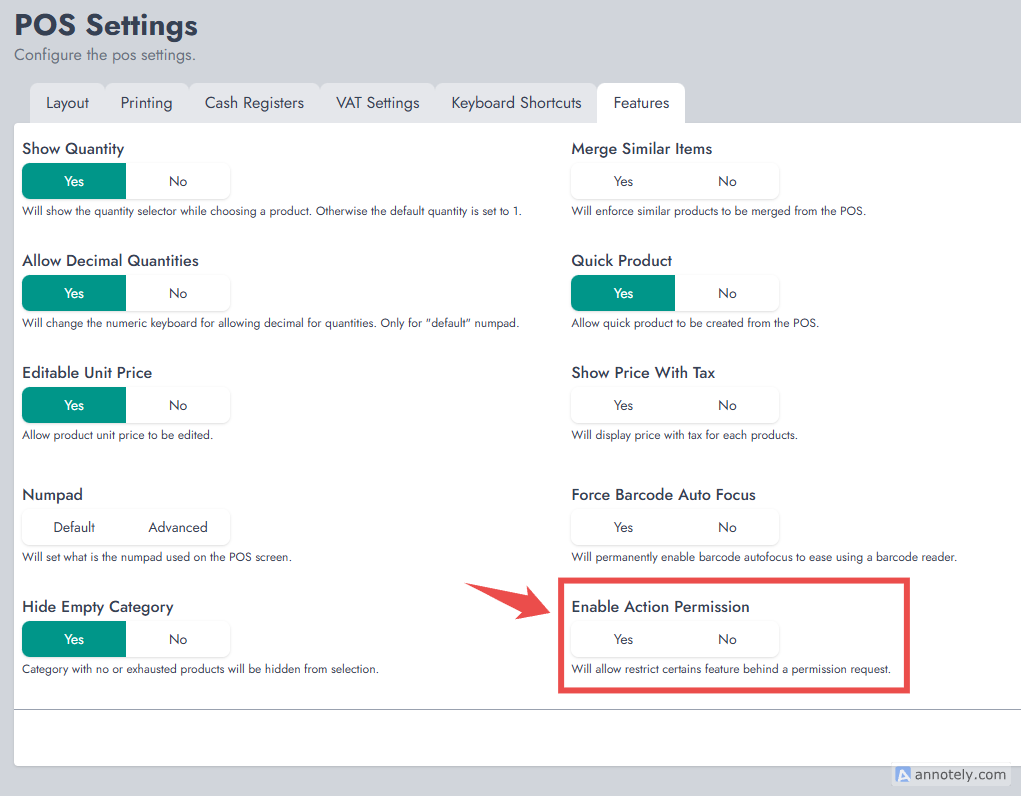
Once enabled and the settings, saved, this will add a new tab on the POS settings named "Action Permissions"
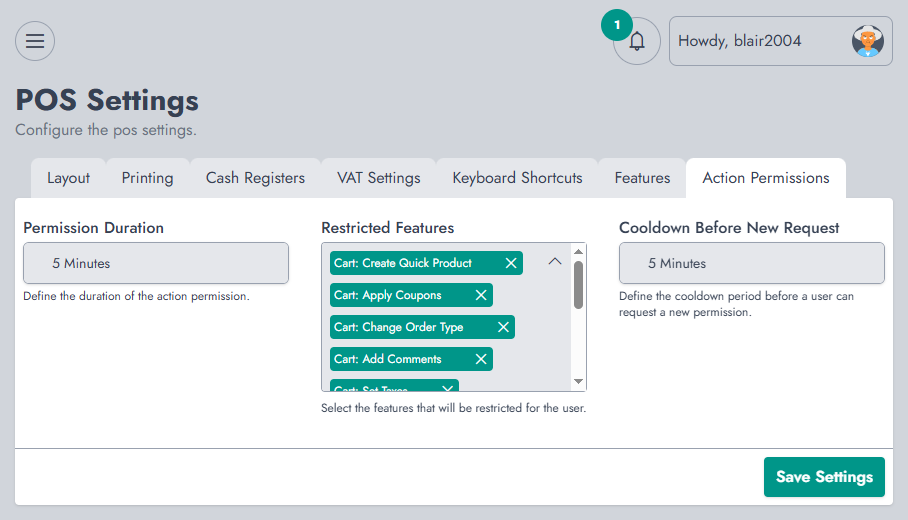
From there, you can choose which feature to restrict. You can also set how time the permission prompt will be valid and how many times to wait before another request. Once you're satisfied, save your settings.
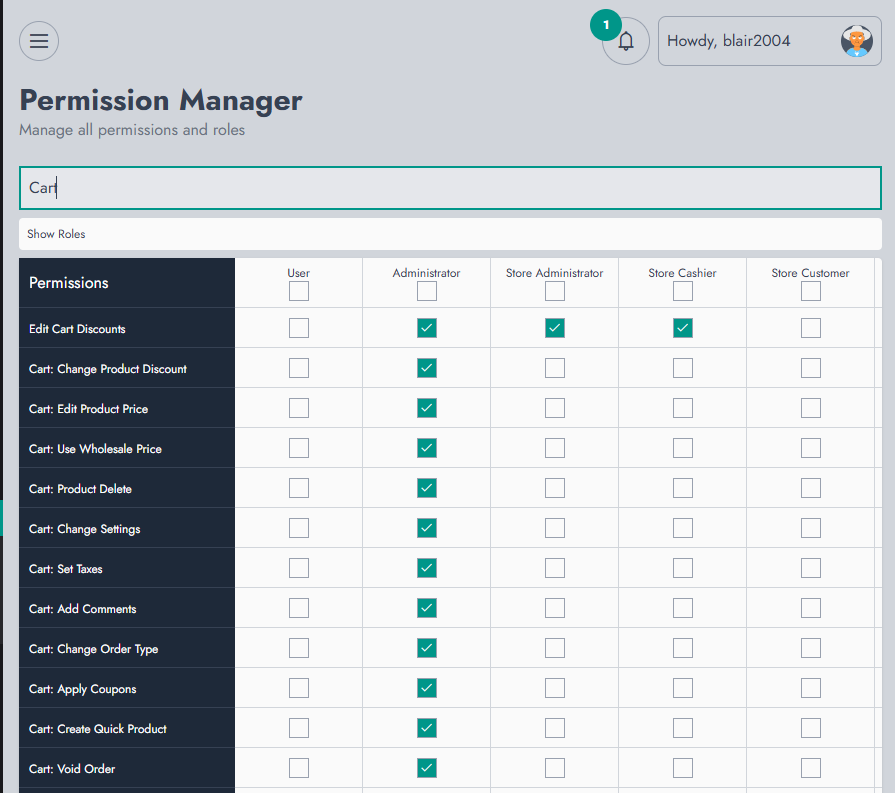
All the permissions available on the "Action Permissions" must only be granted to the administrator. If it's granted to the cashier, there will not be any restriction, as they'll have the right to perform those actions.
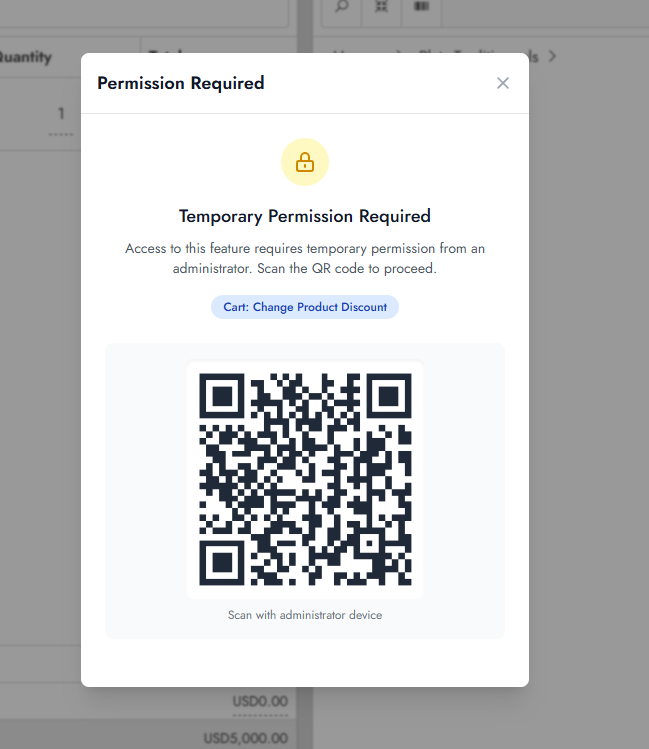
Now, if a user tries to access a restricted feature, they'll be requested to scan a QR code by the administrator's device.
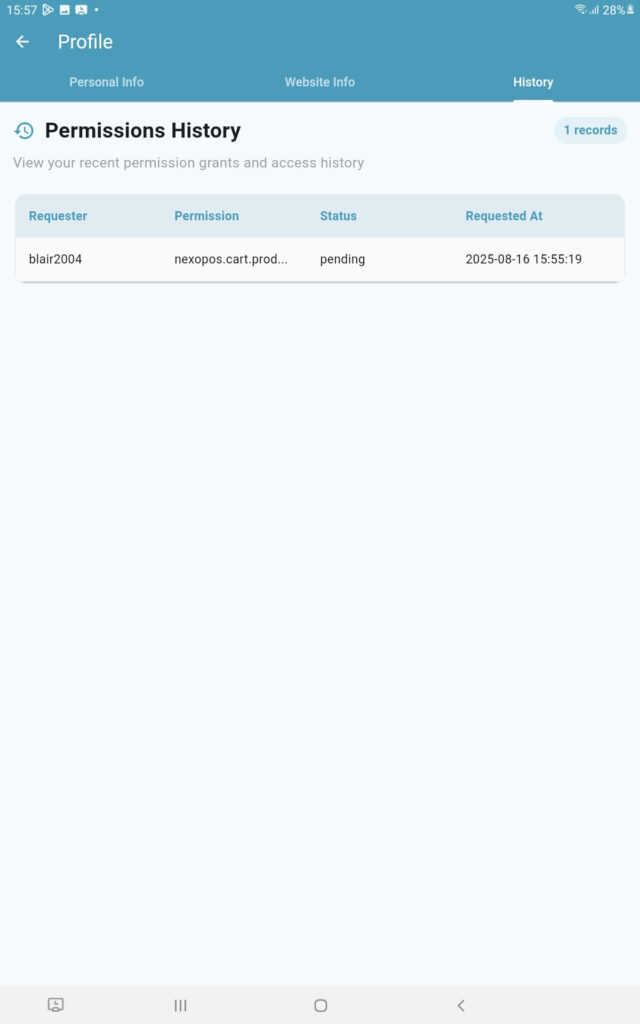
All administrators can monitor the permissions they have recently granted. They can access it on their account on NexoPOS Authorizer.
You can manage your personal information using the tab Personal Info. If, for any reason, the website address changes, you can edit the website details:

Google reCAPTCHA secures your login page and registration page against...
Google Double Factory Authentication or Google 2FA adds an extra...
If you already have purchased the product, you can download it from your account downloads.